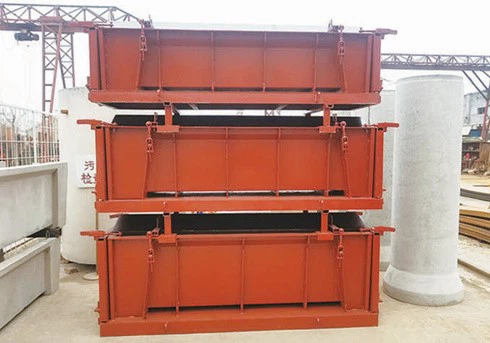
When it comes to installing an arched cable trench mold, one of the fundamental steps is leveling the ground. As a trusted supplier of Arched Cable Trench Mold, I understand the importance of this process. A well - leveled ground ensures the stability and proper functioning of the cable trench, which in turn safeguards the cables laid within. In this blog, I will share a comprehensive guide on how to level the ground for installing an arched cable trench mold.
1. Site Assessment
Before starting any ground - leveling work, a thorough site assessment is essential. This involves several key aspects:
Topography
Examine the natural topography of the site. Look for any slopes, depressions, or uneven areas. Use a surveyor's level or a laser level to measure the elevation differences across the area where the cable trench will be installed. A detailed topographic map can be extremely helpful in understanding the overall layout of the land.
Soil Type
The type of soil on the site plays a crucial role in the ground - leveling process. Different soil types, such as clay, sand, or loam, have different properties. Clay soil, for example, tends to retain water and can become soft and unstable when wet. Sand, on the other hand, drains well but may require additional compaction. Conduct a soil test to determine its composition, moisture content, and bearing capacity.
Obstacles
Identify any obstacles on the site, such as rocks, tree roots, or existing structures. These obstacles need to be removed or relocated to ensure a smooth and even surface for the mold installation. Rocks can be blasted or removed using heavy equipment, while tree roots may need to be cut and dug out.
2. Clearing the Site
Once the site assessment is complete, the next step is to clear the area. This involves removing any vegetation, debris, or unwanted materials from the site.
Vegetation Removal
Use a brush cutter or a bulldozer to remove grass, shrubs, and small trees from the area. Make sure to remove the roots as well to prevent them from growing back and causing problems in the future.
Debris Removal
Collect and remove any debris, such as rocks, bricks, or construction waste, from the site. This will not only create a clean surface but also prevent damage to the equipment used for ground leveling.
3. Marking the Trench Location
After clearing the site, mark the location of the cable trench. This can be done using stakes and string.
Stake Placement
Drive stakes into the ground at the corners and along the edges of the planned cable trench. Make sure the stakes are firmly in place and are at the correct elevation.
String Setup
Attach a string to the stakes, creating a perimeter that outlines the shape and size of the cable trench. The string should be taut and level, providing a clear guide for the ground - leveling process.
4. Excavation
Once the trench location is marked, it's time to start the excavation process.
Depth and Width
Excavate the trench to the specified depth and width. The depth of the trench depends on the size of the arched cable trench mold and the requirements of the cable installation. The width should be sufficient to accommodate the mold and any necessary backfill material.
Slope and Grade
Maintain a proper slope and grade during excavation. A slight slope is usually required to ensure proper drainage of water from the trench. Use a level and a grading tool to check and adjust the slope as needed.
5. Ground Compaction
After excavation, the ground needs to be compacted to provide a stable base for the arched cable trench mold.
Compaction Equipment
There are several types of compaction equipment available, such as plate compactors, roller compactors, and vibratory compactors. The choice of equipment depends on the size of the site and the type of soil. For small areas, a plate compactor may be sufficient, while larger sites may require a roller compactor.
Compaction Process
Start by compacting the bottom of the trench in layers. Each layer should be no more than a few inches thick. Use the compaction equipment to apply pressure evenly across the surface. Make multiple passes over each layer to ensure proper compaction. Check the compaction level using a density gauge or by performing a simple test, such as stepping on the compacted soil.
6. Fine Grading
Once the ground is compacted, perform fine grading to achieve a smooth and level surface.
Grading Tools
Use a grader blade or a screed board to level the surface. Start from one end of the trench and work your way to the other, making small adjustments as needed. Check the level frequently using a level or a laser level.
Final Inspection
After fine grading, conduct a final inspection of the ground surface. Look for any remaining uneven areas, bumps, or depressions. Make any necessary adjustments to ensure that the surface is within the specified tolerance for the arched cable trench mold installation.
7. Considerations for Different Soil Conditions
As mentioned earlier, different soil conditions require different approaches to ground leveling.
Clay Soil
If the soil is clay, it may be necessary to add some sand or gravel to improve its drainage and stability. Mix the additives into the clay soil thoroughly before compaction. Also, avoid working on clay soil when it is wet, as it can be difficult to compact and may result in a soft and unstable base.
Sandy Soil
Sandy soil drains well but may require more compaction to achieve the desired density. Use a vibratory compactor to increase the compaction of sandy soil. You may also consider adding a small amount of clay or silt to improve its cohesion.
8. Importance of a Level Ground for Arched Cable Trench Mold Installation
A level ground is crucial for the successful installation of an arched cable trench mold.
Stability
A level ground provides a stable base for the mold, preventing it from shifting or settling during the installation and use of the cable trench. This ensures the integrity of the cable trench and protects the cables from damage.
Proper Alignment
A level surface allows for proper alignment of the mold segments. This is important for ensuring a seamless and watertight connection between the segments, which is essential for the long - term performance of the cable trench.
Even Distribution of Load
A level ground helps to distribute the load evenly across the mold and the underlying soil. This reduces the risk of stress concentration and potential failure of the cable trench.
Conclusion
Leveling the ground for installing an arched cable trench mold is a critical process that requires careful planning, proper equipment, and attention to detail. By following the steps outlined in this blog, you can ensure a stable and level base for your cable trench, which will ultimately contribute to the successful installation and long - term performance of the cable system.
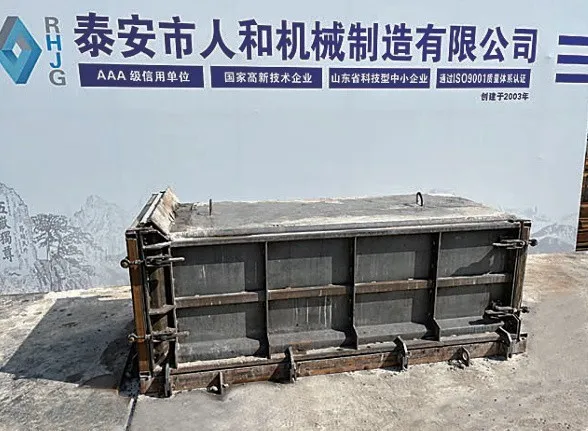
As a leading supplier of Arched Cable Trench Mold, we also offer Rectangular Cable Trench Mold and Precast Cable Trench Mold to meet your diverse needs. If you have any questions about ground leveling or our cable trench molds, or if you are interested in purchasing our products, please feel free to contact us for further discussion and negotiation. We are committed to providing you with high - quality products and professional services.
References
- "Construction Site Development Handbook" by John R. Hinkel
- "Soil Mechanics and Foundation Engineering" by V. N. S. Murthy
- "Cable Trench Design and Installation Guidelines" by the Institute of Electrical and Electronics Engineers (IEEE)